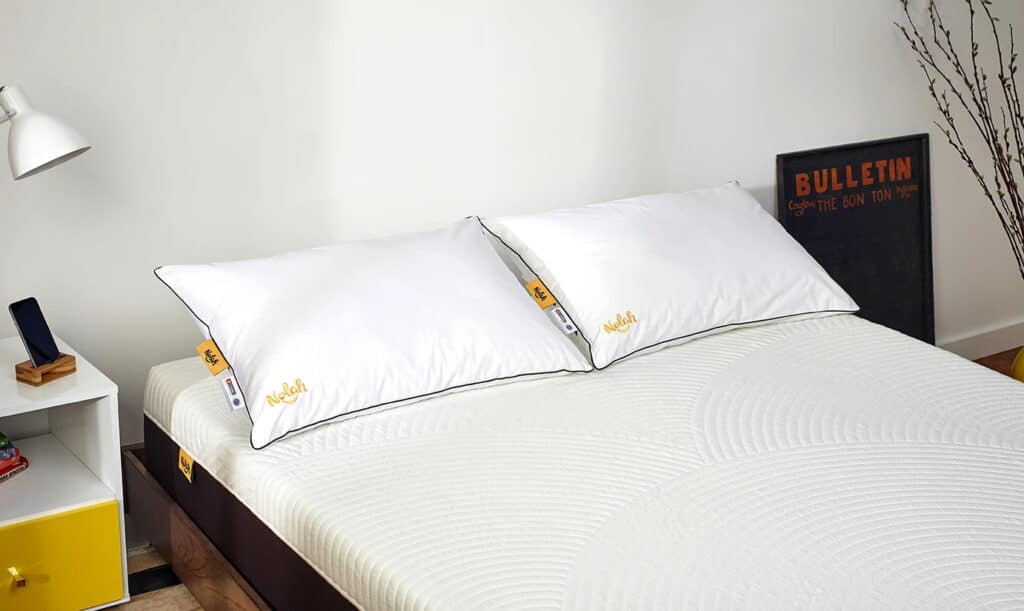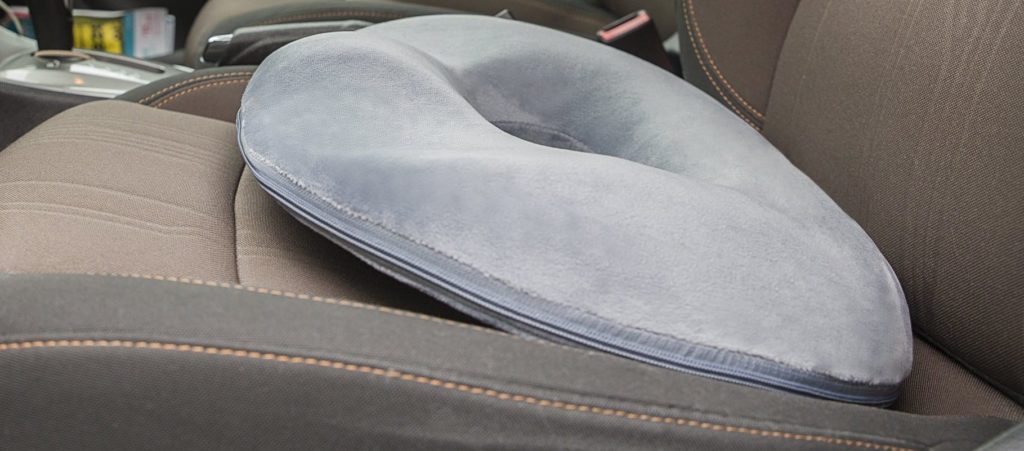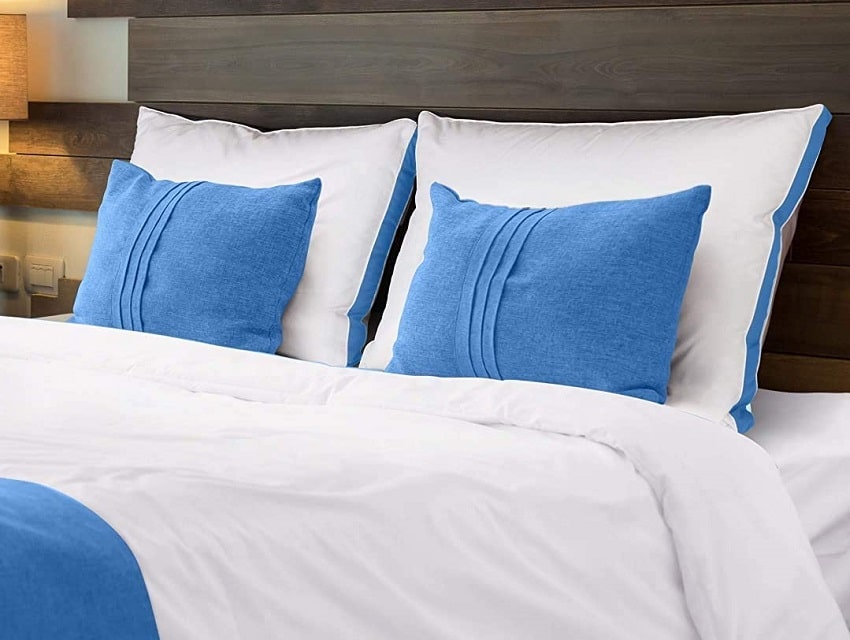

The suitable pillows in a room can make a huge impact on the room’s appearance. Pillows can exist in a wide variety of shapes, sizes, and colors. With the right arrangement, it can catch the eye and improve the overall décor of a space. Many manufacturers sell pillows, but you might decide to make yours. In this post, we will see how to make a pillow.
Since there are several types of pillows you can make, we will take you through each of the common types and see how you can create yours.
Read on to find out more.
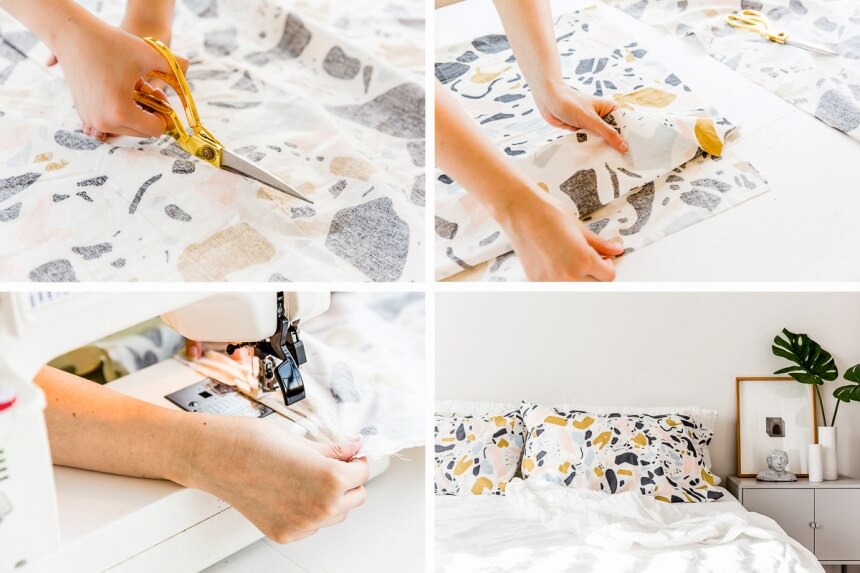
With these tools available, you are ready to begin to make your standard pillow. Here are useful instructions that will help you.
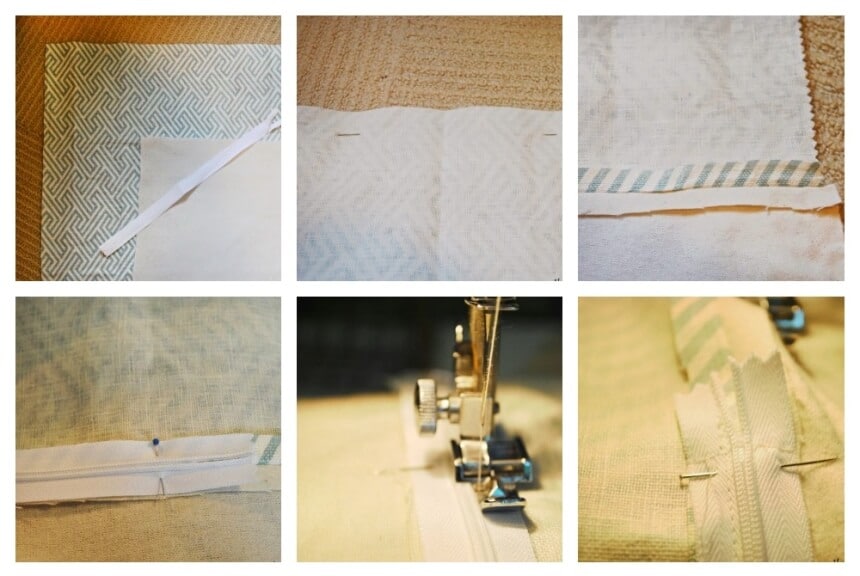
What will you need? Here are the supplies that you will require:
With these supplies available, here is how to make your pillowcase with a zipper.
The first thing is to cut a pair of fabrics for the front and rear of the pillow. Many experts recommend that the fabric come with a half seam allowance as that will fit the pillow’s form. You could also use other tools to cut cleanly. Some have recommended getting a cutting mat and rotary cutter.
After cutting the pair of fabrics, lay it out and decide which part will face out and which will be in. You also need to determine which of the edges will serve as the bottom edge.
Since this pillowcase will come with a zipper, lay it along the bottom to determine where the zipper begins and ends. You can mark this position by using pins. This isn’t the time to pin the zipper, merely the time to mark it.
2. Sew the bottom edge
You need to get a straight zipper, so pay attention to this part. Sew the straight stitch from the edge to the pin on both sides.
3. Prepare to add the zipper
To prepare, iron the seam that you have made and place the zipper on it. Pin it face-down and take it to the machine.
4. Sew the zipper
Sew the zipper as you would any other zipper. After sewing, undo the temporary stitch that you made. Then sew the other sides of the pillow cover.
5. Serge edges
Afterward, finish the edges of your new pillowcase. Serge the edges by using a serger. If you don’t have that, you can run the edges through the machine and use it to serge the edges.
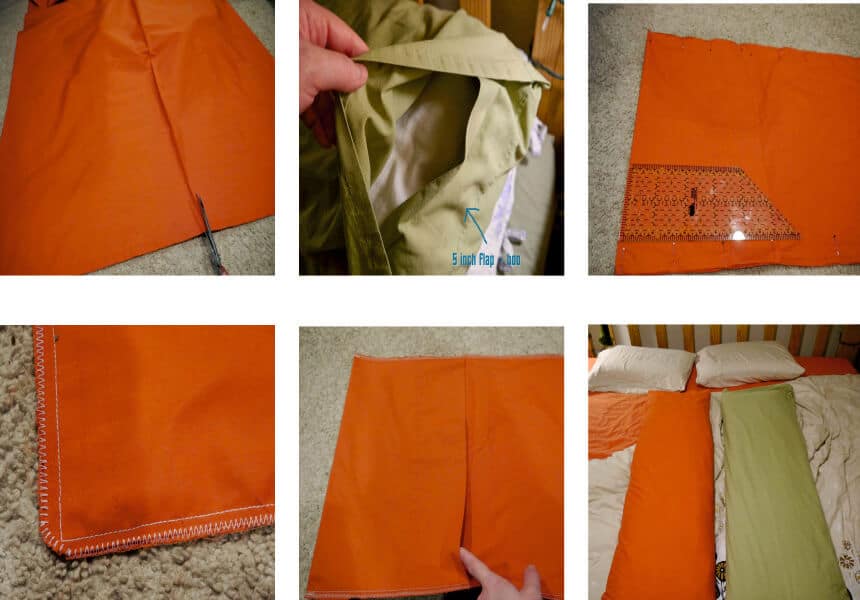
With these in place, you can get down to making your body pillow.
The first thing is to know how big you want the body pillow to be. You can make it shorter, longer, or smaller than the standard size and even make king-sized pillows.
You can make throw pillows Trusted Source Throw pillow - Wikipedia A throw pillow, or toss pillow, is a small, decorative soft furnishing item made from a wide range of textiles including cotton, linen, silk, leather, microfibre, suede, chenille, and velvet. Throw pillows are a commonly used piece in interior design and come in a wide variety of shapes, sizes and decorative elements such as tassels and piped edges. en.wikipedia.org in short, easy steps.
Here are the steps required:
You can get the fabric from whatever you want. In cutting it, cut a pair of squares of equal sizes or any other shape that you want.
2. Add some trim to it if you want to add some fun to your pillow.
3. Decide which part is the front and rear, and pin your seams.
To pin the seams, first lay out the fabric on your worktable, then place the trim along the side of the bottom piece. Align the trim, top, and bottom parts of the fabric perfectly. Then pin all around the edges.
4. Sew the edges of the pillow, leaving one end open for adding the pillow inserts
5. After stuffing to your heart’s content, sew the open edge.
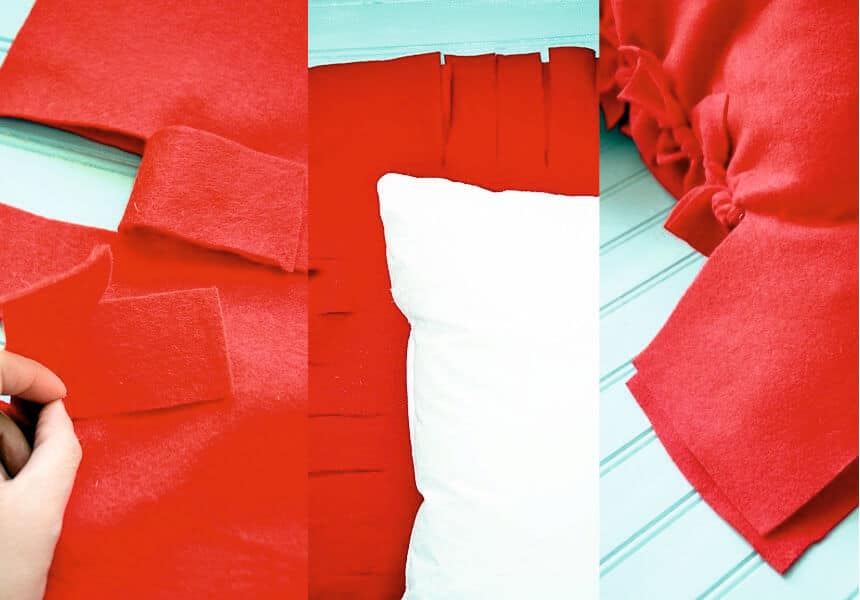
Here are the steps to follow:
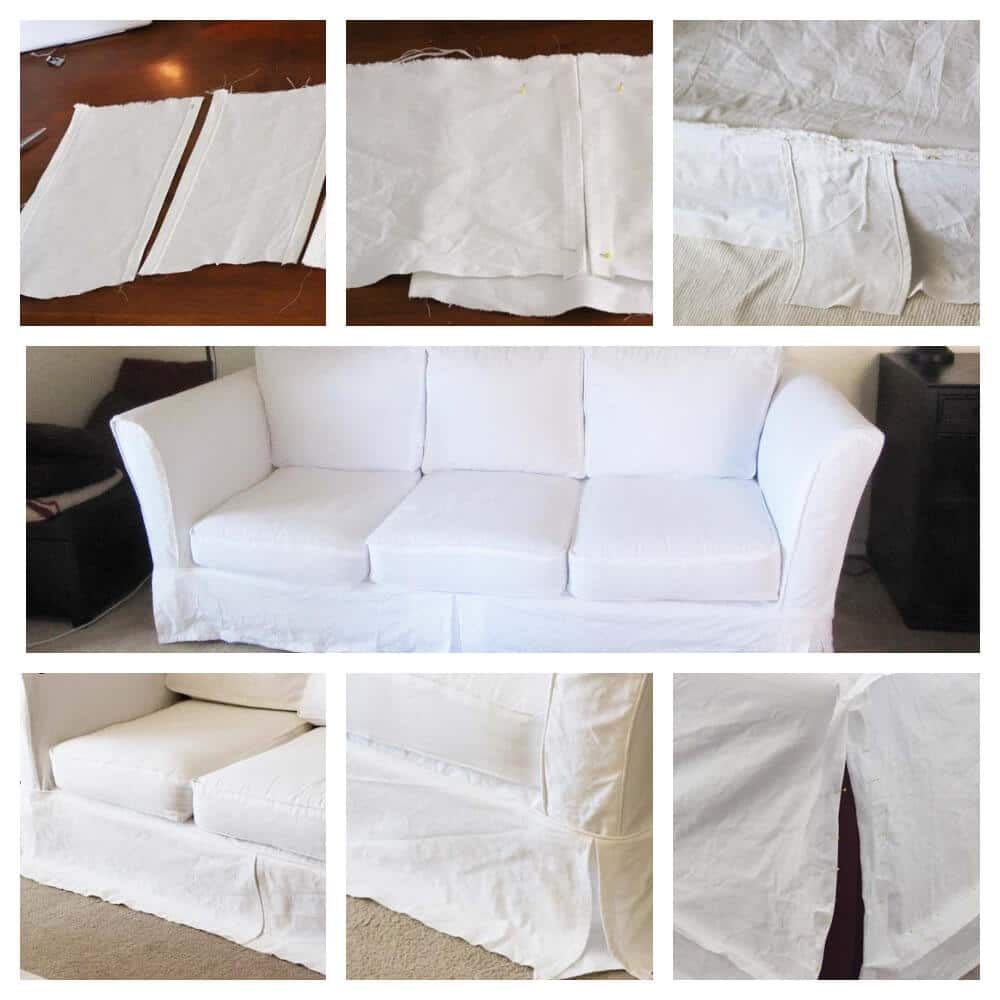
Here’s what you will need:
The first thing that you need to do is to take measurements of the sofa or cushion that you plan to cover with the slipcover. Check out the measurements and note the widest spot for where you are working on.
After taking the measurements, cut the fabric according to your measurements. The measurements that you take depend on the type of furniture that you want to clothe.
You will need to make a zipper attached to the fabric. Determine where the zipper would go and pin it in place. Sew the fabric to the zipper with the zipper foot.
So, there you have it – how to make a pillow. Now that you know the easy steps on how to make a pillow, why don’t you go get the supplies and put these steps into practice? We are sure that you will have a grand time. You will have your awesome pillow finished in no time at all.
